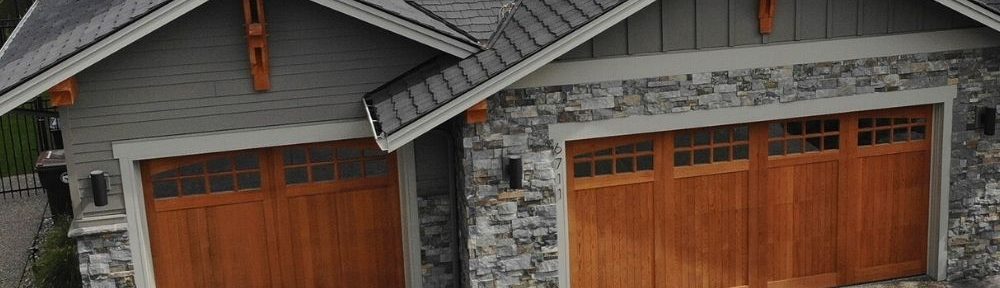
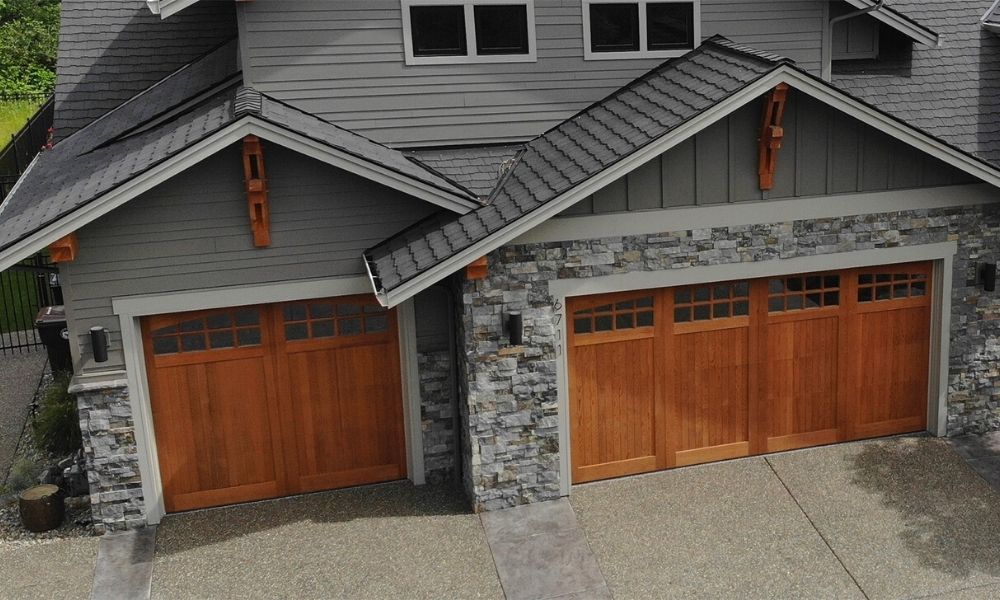
Now the cooler months are approaching, you have plenty of time for home DIY projects and renovations. Considering the moderate climate, it’s the perfect opportunity to focus on home exterior areas. Specifically, if you notice your wooden garage door isn’t looking so fresh, maybe it’s time to give it a bit of TLC. In this article, you’ll find simplified ways to paint or re-stain your wooden garage door properly.
Painting Versus Re-Staining Wooden Doors
While painting and re-staining both have benefits, consider some factors when comparing the two processes. Take a look at the list below.
- Cost: Stains are usually less costly than paint; however, you’ll have fewer color choices to choose from. Furthermore, paint is pricier and requires a primer purchase to supplement a paint job.
- Durability: Painted wood can chip and deteriorate with changing weather and normal wear and tear. However, chipping and flaking don’t happen with stains since the stain soaks into the wooden surface.
- Color: Paint comes in various shades and colors. When you paint, you know what you’re getting. When you use stains, getting a favorable outcome depends on how the wood was cut and how the varnish was applied.
- Goal: When deciding between whether painting or re-staining, consider your overall goal for your garage door’s appearance. If you enjoy frequently changing up your door’s look, painting your garage’s entryway is the better restoration route. However, when looking for a timeless appearance, stains can enhance a garage door’s beauty by highlighting key features, details, and woodgrain.
- Style: Your home’s style can significantly contribute to your restoration vision. Stained garage doors complement rustic houses, while painted doors create a contemporary feel that varies between moods.
- Door Surface: It’s essential to note that some wood surfaces stain or paint better than others. Before starting the restoration process, consult a professional to clarify your garage door’s surface type, durability, and core type.
Purpose of Refinishing or Repainting Doors
When done correctly, repainting or re-staining wooden door finishes can protect garages from the following threats:
- Wood Rot: Wood deterioration is a product of many negative degrading factors such as moisture and fungi.
- Weather Damage: Wind can deposit dirt, sand, and other debris onto the surface of your garage door, which will wear down the finish. A worn barrier can facilitate the collection of additional debris in the fine cracks and crannies, leading to further damage.
- Pest Damage: Woodboring beetles and termites love eating wood. Their feasting results in holes and tunnels, which, if left untreated, will weaken your garage door’s overall integrity.
- Wear and Tear: General wear and tear—such as cracking and peeling, for instance—can leave your garage door vulnerable to severe damage like wood rot and pest annoyances. Make sure to maintain it.
- Fading: Constant sun exposure is the leading cause of fading colors and thinning topcoats. You can avoid fading by removing the sun from the equation as best you can. Plant trees to create shade or use UV-resistant paint or stain.
Painting Procedures
Before you start painting your garage door, follow these steps:
- Prep the Surface: Start by removing peeling or flaking paint with a scraper. Afterward, search your garage door for areas where rotted wood is present and then remove it with the scraper.
- Fill in the Gaps: Fill holes and remove wood rot with wood filler. Use a caulking gun to touch upon seams and cracks to prevent leaks. Then, let everything dry in preparation for the next step.
- Sand Down the Surface: Using an electric sander and medium-grit sandpaper, sand down the entire surface of the garage door to ensure evenness and remove peeling paint. You can also use sandpaper to access more challenging areas that the sander cannot reach.
- Clean: Coat the door with a degreasing solution to break down accumulated grime and dirt. Apply a mildewcide to prioritized areas and rinse with water. Once again, allow the door to dry completely before proceeding.
- Prep Your Surroundings: Prep your area from unwanted primer and paint by laying cloths on the ground and masking handles and accents with masking tape. You can use masking paper on windows for better coverage.
- Prime: Start with coating your garage door with your preferred primer. Apply a coat, then allow to dry according to the manufacturer’s instructions.
- Paint: Once the primer coat is dry, apply the first coat of paint and allow it to dry. Multiple coats of paint might work best to ensure vibrant coverage. Remember to allow each coat to dry before applying the next layer.
If you use a paint sprayer in place of your standard brushes to speed up the painting process, be aware of some important factors first. While paint sprayers facilitate faster and smoother coverage, they require periodic cleaning when you switch between primers and paints.
If you use a latex-based primer, clean it thoroughly with water. Paint thinner is the best cleaning medium when using oil-based primers.
Re-Staining Procedures
Refinishing your garage with a varnish is similar to repainting. However, it requires a bit more patience. Take a look at the following steps:
- Remove Wood Rot: Use a scraper or sharp tool to remove wood rot and other areas that are molded beyond repair. Fill in the holes and gaps using polyester wood filler.
- Clean Your Surface: Clean your garage door with a gentle wood-cleaning product to get rid of dirt, dust, and debris. Allow it to dry before sanding.
- Sand the Door: Sanding your canvas before re-staining is essential since it allows you correct uneven textures and features. Sanding can also help the stain adhere to a door’s surface better and make it look smoother once dry.
- Prep Your Tools and Surroundings: While your garage is drying, gather your tools and prep your area. You can use painter’s tape to cover handles, levers, and window edges. Lay down drop sheets handy to avoid staining other regions.
- Apply the Stain: Choose a high-quality exterior stain to ensure maximum protection from the weather. Remember, if you choose a dark stain, your garage will absorb lots of heat, which will affect the finish over time. Allow drying per manufacturer instructions.
- Apply the Finishing Varnish: Since a wood stain penetrates wood surfaces, you’ll need a varnish to finish and provide a protective barrier on your door. Once the stain is completely dry, apply a layer of varnish. You’ll need multiple coats to provide the right amount of protection.
If your garage door is a type that contains high-tannin wood—such as cedar or redwood—consider applying a brightener before staining. High-tannin woods darken after washing.
As a homeowner, maintaining your home’s exterior is equally essential as maintaining its interior. Therefore, knowing how to paint properly or re-stain a wooden garage door can add to your home’s curb appeal as well as prep your home for the winter.
Here at Nick’s Building Supply, we have wooden garage doors for sale that can make great additions to your home. Browse our collection to get started today!
